Revamping an entrance hall, bedroom wall or accenting any other surface space such as ceilings is easy with Mywoodwall, DIY wood paneling.
A remarkable system created by skilled craftsmen and latest machine technologies, it eliminates messy drilling, dust and holes in the wall.
All that is required to apply this product are: Mywoodwall™ wall panels, a spirit level, measuring tape, roller to press down the panels and a rough sponge.
The Peel&Press™ technique is easily installed.
A great alternative to paint and wallpaper, Mywoodwall provides decorative wall art and creative ways to experiment with contemporary or traditional design.
Mywoodwall is 100% sustainably sourced from family-owned plantations on the island of Java in Indonesia. It is exceptionally durable.
Product list:
One box contains:
- 1 sq ft, 7 Panels Per Box, 6 lbs
- Panel dimensions: 35 7/16” x 5 7/8” x 3/8”
- Tesa Adhesive Pre-loaded on Back of Panels
- Each box includes 3 additional strips of tape
(Click on the links below to take you to the Universal Plywood Website for more product information and images.)
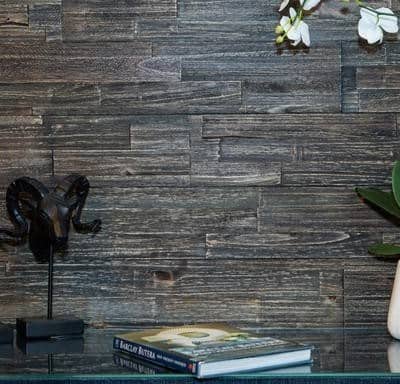
Anthracite Paneling
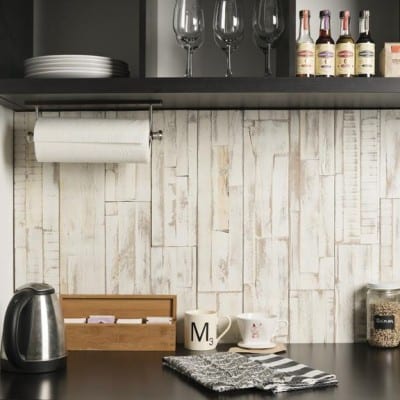
Antique White Paneling

Driftwood Paneling

Arcadian Brushed Coral
Arcadian Deep Space

Java

Blue Ocean

Bourbon Floating Shelf
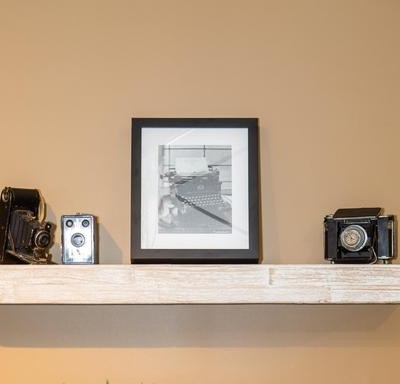
Antique White Floating Shelf
How to Apply Mywoodwall
1) Prepare Wall
Use a rough sponge to roughen the wall then clean and dry the surface so that it is smooth.
2) Define Layout
Before gluing the panels, place them on the floor to see the effect. Experiment with angles and patterns.
3) Draw Reference Line
Draw a horizontal line on the wall. If you want to place the pattern at a certain angle, make a second line at the desired angle, starting from the horizontal line.
4) Mount Reference Row
Begin with a reference row. Mount panel by panel. Press the panel to the wall after peeling off the protective film from the three adhesive strips. Be sure to follow the line you previously drew. Continue doing this until the row is complete. Fill the gaps at the ends by cutting pieces with a saw.
5) Complete Wall
The rest of the surface will be completed quickly and easily. For cutting out power sockets use a mitre box and handsaw or circular saw.
6) Finishing Touches
After firmly pressing down the panels with the roller, allow the tape to harden. Any decorative strips and other accessories can be attached.
For further information contact us. There are warehouses in Bloemfontein, Johannesburg, Ballito, Durban and Cape Town, which stock a vast variety of different wood products suitable for all indoor and outdoor applications. We know our game and pride ourselves on our excellent service.